Have you ever seen a food photo that made you drool? We’ve all been there! But did you know there’s an art to capturing those shots? These tips will help you make your food look stunning, whether you’re a food blogger, a chef, or just want to improve your Instagram.
Let me tell you a story. Last weekend, I made a homemade pizza. When I put it on the counter, I admired its cheesy goodness and charred crust. It looked incredible, so I wanted to capture it on camera.
I used my smartphone and some food photography tips. I plated the pizza nicely, arranging the toppings well. Studies say well-plated food looks tastier and healthier. I used a spoon for the sauce, a squeeze bottle for cheese, and tweezers for the basil.
To make the pizza stand out, I put it in the middle of the frame. This trick makes the main subject pop. And it worked perfectly. When I took the photo, I could almost smell the pizza.
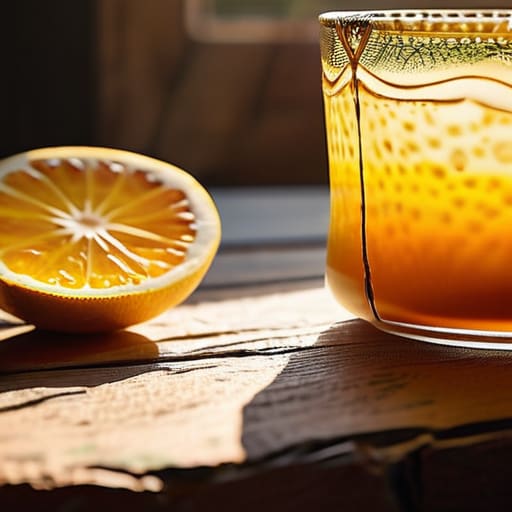
Lighting is key. I put the pizza near a window for soft, diffused light. Harsh light can create bright spots that distract from the food’s texture. Soft light helps avoid harsh shadows and makes food look more appetizing.
After trying different angles, I chose a 45-degree shot from above. This showed off the pizza’s layers, crust, cheese, and toppings. Different foods need different angles to look their best.
When I took the photo, I used a shallow depth of field. This made certain parts of the pizza stand out, like the cheese and edges. It made the photo more visually appealing.
With some editing, my pizza photo was ready to share. And it looked amazing! The sauce’s red and the crust’s golden brown made me want to eat it.
Key Takeaways:
- Plating is crucial for food photography as it enhances the perception of taste and healthiness.
- Position the main subject in the middle of the frame to make it the star of the show.
- Utilize soft, diffused natural light to avoid harsh shadows and emphasize texture.
- Experiment with different angles and perspectives to find the most visually appealing shot.
- Use depth of field to highlight specific elements of the food and enhance its visual appeal.
Prepare Your Food to Be Photo-Ready
For food photography, it’s key to prepare your dishes right. This makes them look beautiful and appetizing. Here are some tips for arranging and styling your food for great photos:
1. Don’t Arrange All Foods the Same Way
Varying how you arrange your food is important. Don’t make everything symmetrical. Instead, use different angles to create depth and interest. This makes your photos more dynamic.
2. Choose the Right Surface
Use neutral backdrops like white, black, or grey. These surfaces highlight your food’s natural colors and make it stand out. They let your food’s colors pop, making your photos more appealing.
3. Put the Main Subject in the Middle
Put the main part of your dish in the center. This draws the viewer’s eye and focuses on the most appealing part of the food.
4. Think like an Artist
Be creative with your food photography. Try using sauces, garnishes, and decorations to add an artistic touch. A little sauce or fresh herbs can turn a simple dish into a work of art.
By using these tips and preparing your food carefully, you’ll make stunning photos. They’ll look great and make people want to try your food.
Get the Lighting Right
Lighting is key in food photography. It brings out the textures, colors, and details of your dishes. The right lighting can turn your food photos into stunning images. Let me show you the basics of food photography lighting and how to get the best results.
Soft light is often used in food photography. It gives a gentle, diffused illumination that creates soft shadows. This makes your food look natural and beautiful. You can use either natural or artificial light sources for soft light.
For natural light, place your food near a window with indirect light. This avoids harsh shadows and gives a soft glow. Try different times of the day to find the best light for your food photos.
Artificial lighting is great for indoor or low-light settings. A basic setup includes a diffuser and a reflector. The diffuser spreads and softens the light, while the reflector bounces it back for less shadows and more highlights.
You don’t need to spend a lot to start with food photography lighting. With under $100, you can get the basics. The Neewer 40″ x 60″ diffuser and the Neewer 24″ reflector are good options for a basic setup.
Lighting Techniques with a Single Light Source
Working with one light source lets you try different soft light variations. These techniques help you create various moods and effects in your photos. Here are eight techniques to try:
- Side light with a diffuser
- Side light with a reflector
- Backlight with a diffuser
- Backlight with a reflector
- 45 degrees front light
- 45 degrees front light with a reflector
- 45 degrees back light
- Front light with a diffuser
These techniques let you control the light’s direction and intensity. This creates different highlights, shadows, and dimensions in your photos.
I prefer a Canon 5D camera with a Sigma 50mm Art lens for food photography. For soft, controlled light, I use a Broncolor pulso 4 head with a large softbox. These tools help me achieve the quality I want in my commercial food shots.
Lighting modifiers are key in food photography. For a natural look, use rectangular lighting modifiers like black and white foam boards. They mimic window light, creating beautiful catchlights in your photos.
Trying different light positions can also produce interesting results. Lighting from the left, right, front, or back highlights different parts of your food. This adds unique visual effects to your photos. Also, consider the light direction when shooting clear items to avoid reflections and glares.
For a moody or modern look, set up your lighting accordingly. Lighting is a powerful tool in photography, setting the mood and atmosphere of your food shots.

Using a tripod is a must in food photography. It keeps your camera steady and prevents shake, especially with slow shutter speeds. I use the Manfrotto 055 tripod with a ball head for stability and flexibility.
Overhead shots are popular in food photography. For these, you might need specialized gear like a tripod with a flexible arm or an overhead rig. These tools help you get stable shots and adjust easily for perfect compositions.
For a light and airy look, try using bright surfaces and backdrops. The colors of your props affect the mood of your image. Experiment with different colors to get the look you want.
Getting the perfect lighting in food photography is all about control. Use lighting modifiers like diffusers and reflectors to adjust the light’s direction, intensity, and softness. This enhances the details, textures, and colors of your food, making your images stunning.
After taking your food photos, editing is the next step. For computer edits, Adobe Photoshop & Lightroom are great tools. If you prefer editing on your iPhone, Lightroom Mobile is a good choice for its easy-to-use interface and editing features.
Next, we’ll look at how framing affects your food photography. Let’s dive in!
Experiment with Framing
Finding the right framing can change how your food photos look. It makes them more appealing and visually striking. Here are some tips to improve your food photography.
Using different angles can change how your food looks in photos. It highlights certain details or the dish’s overall look. Try these angles:
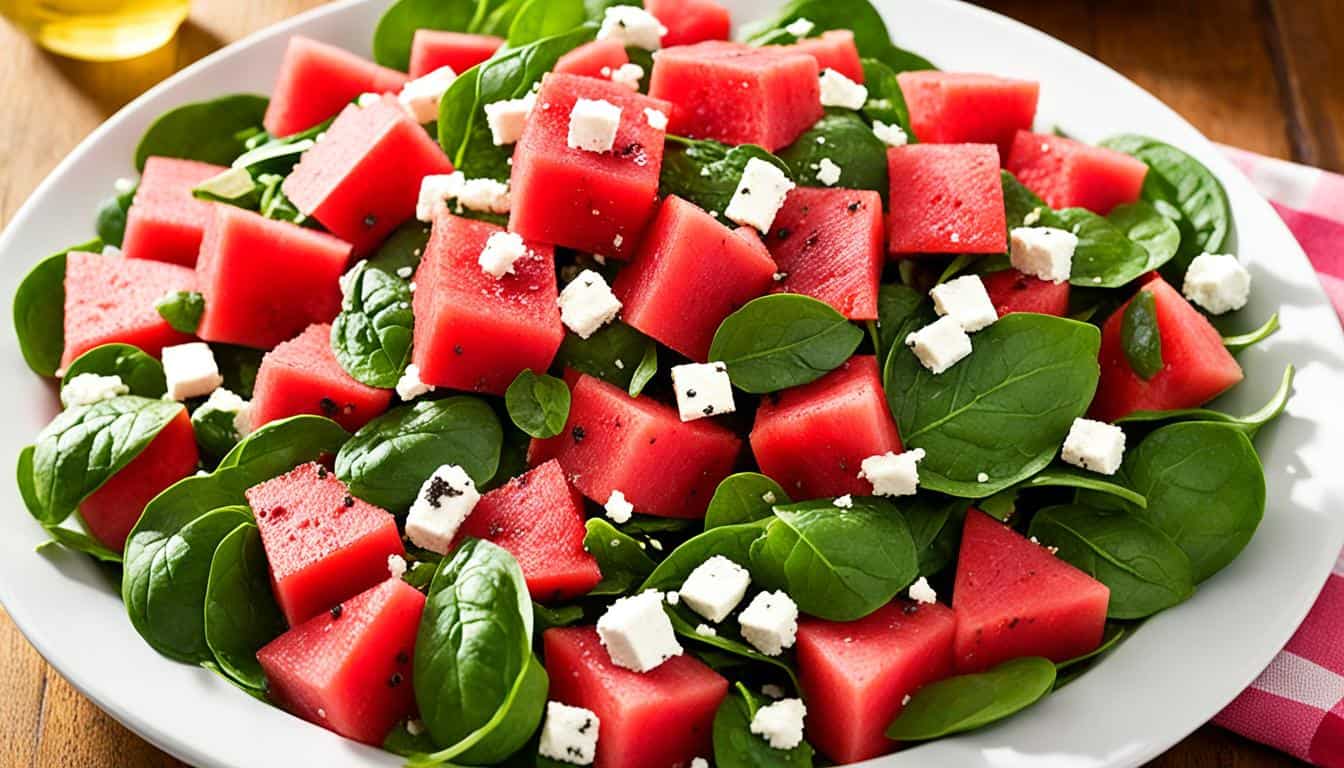
- Overhead shots: Show your dish from above to highlight its colors and arrangement. This is great for flat dishes like pizzas or salads.
- Head-on angles: Capture your dish from the same level to focus on details and textures. It’s perfect for burgers, sandwiches, or desserts.
- Close-ups: Zoom in on a part of the dish, like cake or sauce, to make it look tempting.
- Diagonal shots: Use a diagonal angle to add movement and draw the eye to the main part.
- Tilting the camera to the right: This adds fun and creativity to your photos. It suits casual dishes well.
Now, let’s talk about framing techniques to improve your photos. Framing means arranging elements in your shot to lead the viewer’s eye. It adds depth and impact.
Use natural frames in your photos, like branches or utensils, to draw attention to the dish. This makes the food stand out.
Don’t forget about negative space. Empty space around your subject adds simplicity and elegance. It makes the food the focus.
Props can also enhance your photos. Use plates, utensils, or coffee cups thoughtfully to add interest. But don’t overdo it to keep the focus on the food.
Leading lines can guide the viewer’s eye to your dish. Use utensils, tablecloths, or cutting boards to create a path. This adds structure and highlights the food.

Framing gives you the power to make your food photos captivating. Experiment with angles and techniques like natural frames, negative space, props, and leading lines. This way, you can create stunning images that tell a story.
Remember, framing is a personal choice in food photography. It lets you express your creativity and focus on details. So, play with framing and let your photos speak for themselves.
Incorporate Props and Garnishes
Props and garnishes are key in making food photos look great. They add color and texture, making your dishes stand out.

Choosing the right cutting board is important. They come in marble, wood, and glass. Cutting boards add elegance and provide a surface for your dishes.
Think about the cutlery you use too. Gold or vintage utensils can add interest and show the size of your dishes.
Napkins add color and texture to your photos. They come in many materials and patterns, making your food look more appealing.
Cake stands are great for desserts. They add height and style, making your treats look special. You can find them in glass, metal, or ceramic.
Garnishes like herbs, spices, fruits, and nuts make food look more inviting. They add color and texture, enhancing your photos.
Using cooking utensils in your photos shows the effort put into making the dish. They add authenticity and realism.
Cooling racks can add a unique texture, showing that your baked goods are fresh. This adds warmth and freshness to your photos.
Ingredients from your recipe can also be props. They add color, texture, and flavor, showing what’s in the dish.
Each style of food photography has its props and look. Choose props that fit your theme, whether it’s natural or gourmet.
Remember, most props are common household items. You might only need a few new pieces to improve your photos. Many props are kitchen tools, showing their importance in food photography.
So, be creative with your props and garnishes. Try different setups to find what makes your dishes look best!
Create Contrast and Balance
In food photography, how you arrange things matters a lot. Using contrast is key to making your photos pop. It helps highlight certain parts of your dish, making them more appealing.
Color Contrast
Color theory is crucial in food photography. Knowing which colors work well together can make your dish look great. For example, earthy tones or black and white plates can boost your dish’s look. Yellow and blue together create a nice contrast that makes the food stand out.
Texture Contrast
Texture is vital in food photography too. It adds contrast and makes the viewer feel like they can touch the food. Use textures that contrast with the dish, like smooth plates with nuts or creamy sauce on crunchy food.
Shape Contrast
Playing with shapes can also add contrast and balance to your photos. Different shapes draw attention to certain parts of your dish. Try using cookie cutters for fruits and veggies or arranging sliced fruits in a decorative way.
Balance is as crucial as contrast in food photography. You can arrange elements symmetrically or asymmetrically for a pleasing look. Negative space can also help focus attention and balance your photo.
Using contrast and balance in your food photography makes your dishes look more appealing. It helps create images that grab the viewer’s attention and avoid dull or cluttered shots.
Additional Tips for Great Food Photos
As a food photographer, there are a few more techniques and considerations to keep in mind. These tips will help you capture stunning photos that will leave viewers craving the food you capture.
Work quickly to capture the food at its best. Food can quickly lose its freshness and appeal. Use fresh ingredients for vibrant colors and textures. Keep the composition simple, focusing on the main dish and avoiding clutter.
Experiment with movement to add dynamism to your photos. Capture actions like sprinkling salt, pouring sauce, or slicing a cake. These actions create a sense of engagement and make the viewer feel closer to the culinary experience.
Consider the overall aesthetics and brand image when photographing food. Ensure plates and backgrounds are clean and appealing. Use styling and editing to enhance colors, textures, and lighting in your photos.
By following these techniques, you can create captivating and mouthwatering images. These images will entice customers to visit your restaurant or try your culinary creations. With 75% of consumers influenced by photos and a 30% increase in sales with high-quality food photos, mastering food photography is key to your restaurant’s success.
Related Posts
The Meaning of Joy: Achieving Eudaimonic Hedonism Balance
I still remember the scent of garlic hitting hot olive…
Superfood Recipes to Boost Your Nutrition
Imagine enjoying a meal that tastes great and makes you…
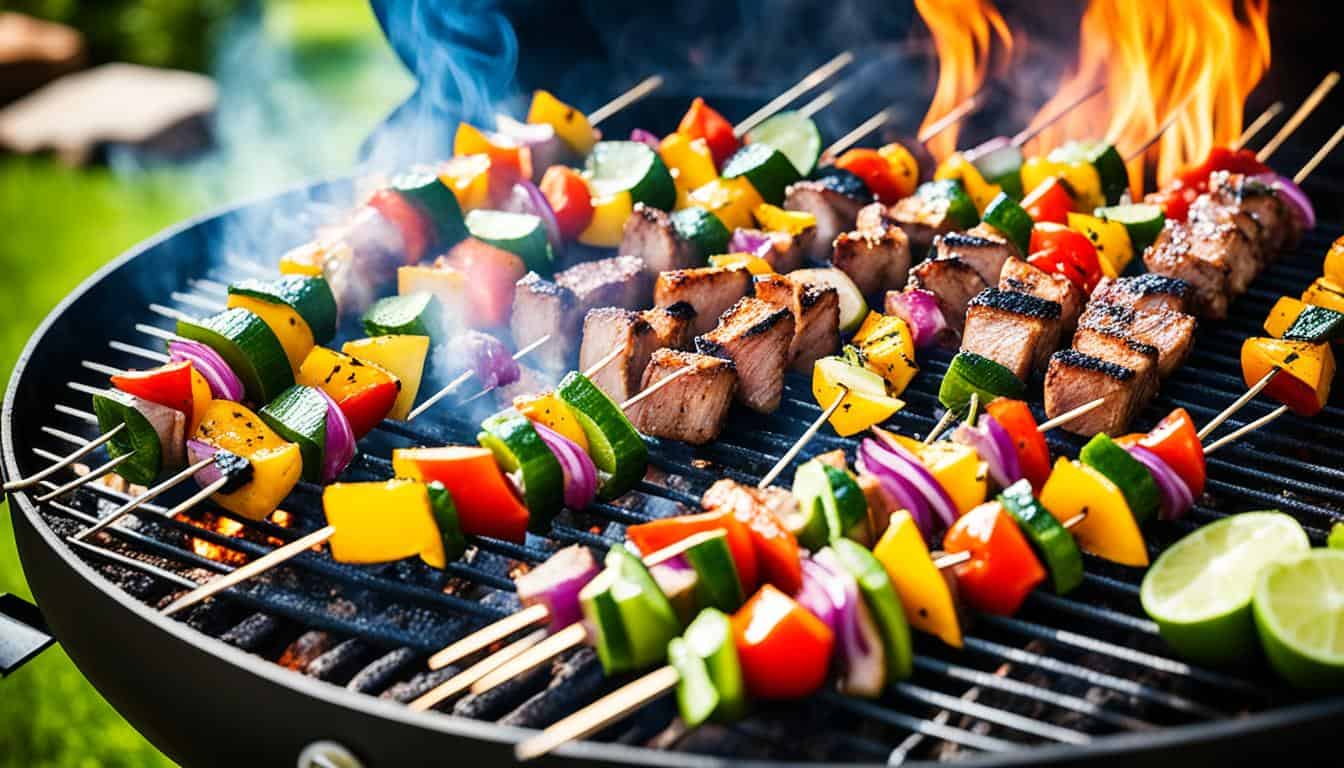
Tips for Delicious Backyard Cooking and BBQs
Imagine it's a warm summer evening, and the sun is…