Imagine it’s Thanksgiving and your home smells amazing. The turkey is perfectly roasted, with crispy skin and juicy meat. Everyone can’t wait to sit down and enjoy. The secret to this perfect meal is the right roasting pan.
Roasting pans vary, but some are better than others. The All-Clad roasting pan is a top pick for cooks at home and in restaurants. It’s made to last and cooks food evenly, making every roast delicious.
A flat rack in your roasting pan is a game-changer. It lets you cook veggies like potatoes and squash alongside your meat. This setup also helps the meat cook evenly, making it perfect.
Basting your roast is key to keeping it moist and tasty. That’s why a bulb baster with a thin tip is a must. It lets you get every bit of the roast coated in juices.
For perfectly cooked roasts, you need a meat thermometer. Whether you like an instant-read or infrared model, it’s crucial. It helps you avoid overcooking or undercooking your meat.
After cooking, you’ll want to separate the meat juices from the fat. A fat separator tool makes this easy. It lets you get the tasty juices while leaving the fat behind.
Think about getting an all-in-one roasting kit. It comes with a bulb baster, thermometer, brining bags, and more. With all these tools, you’ll be set to make perfect roasts every time.
Key Takeaways:
- Choose a high-quality roasting pan like the All-Clad roasting pan.
- Use a flat rack for more surface area and even cooking.
- Opt for a bulb baster with a narrow tip for precise basting.
- Invest in a reliable meat thermometer to monitor the internal temperature of the roast.
- Consider a fat separator tool for separating the juices from the fat.
Tip 1 – Achieving Extra Crispy Roast Potatoes
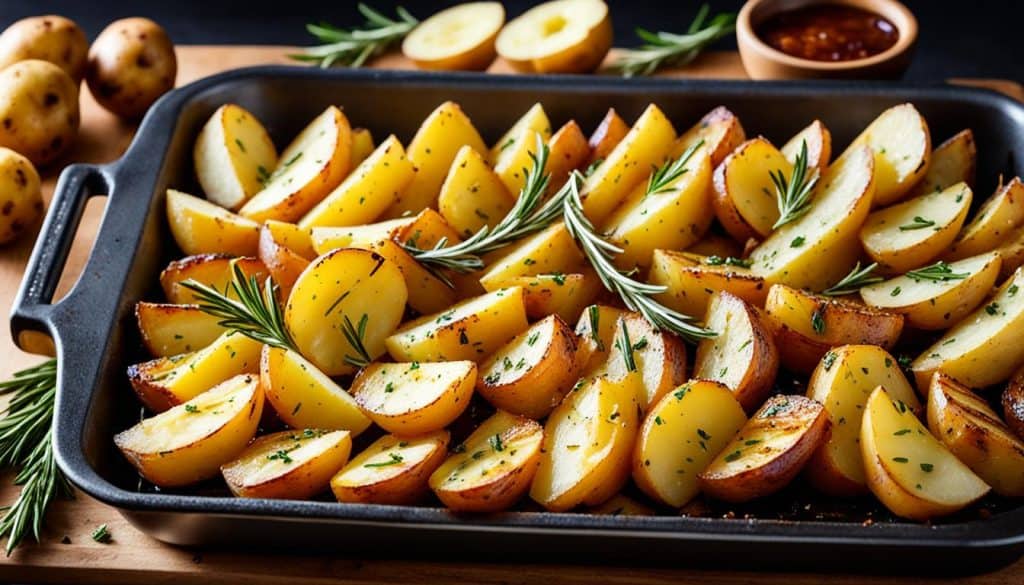
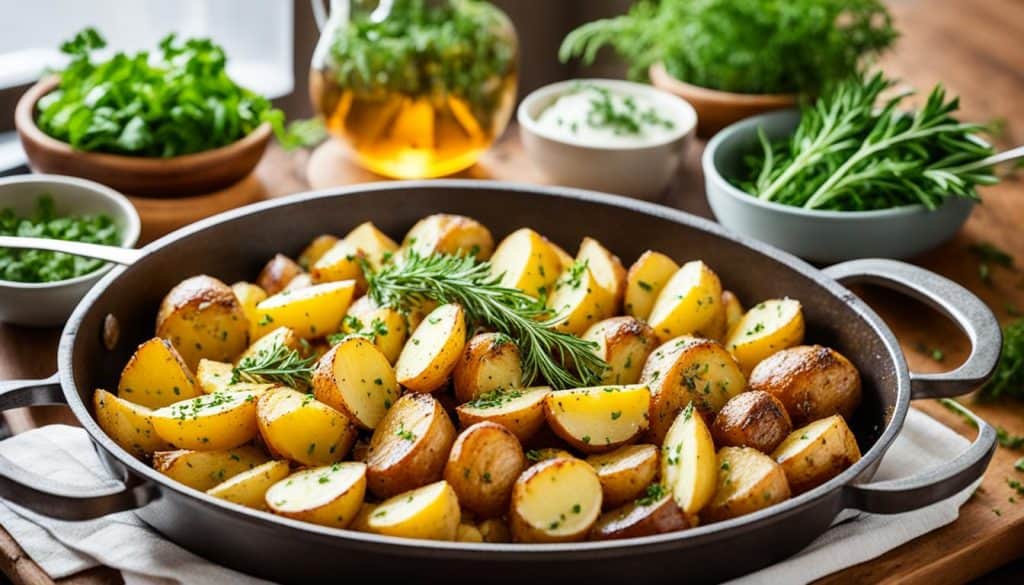
Creating the perfect roast means making sure your potatoes are extra crispy. These golden, crunchy pieces add a delightful texture and flavor. To get your roast potatoes extra crispy, follow these expert tips:
Start by par-boiling starchy potatoes like Russets in salted water for about 5 minutes. This step enhances their crispiness. For even crispiness, add 1/2 teaspoon of baking soda to the water. Baking soda makes the water alkaline, which helps potatoes brown and crisp up.
After parboiling, drain the potatoes and cut them into large pieces, 1 to 2 inches. Let them air-dry for about 5 minutes to remove excess moisture. This makes them crispier.
Next, roughen the potato edges for more crispiness. Put the parboiled potatoes in a covered saucepan and shake it well. This roughens the edges, making them browner and crunchier.
Preheat the oil or butter in the roasting pan for about 5 minutes before adding the potatoes. This ensures they start crisping up right away.
Roast the potatoes to perfection at 450°F for 45-50 minutes. Flip them halfway through for even crispiness. High heat makes them golden and crispy on the outside while staying tender inside.
Let the potatoes rest for 5 minutes on the baking sheet after baking. This lets them crisp up more before serving.
“These tips are game-changers for achieving that extra crispiness in your roast potatoes. The parboiling, roughening, and high heat roasting techniques create the perfect combination for a truly crispy and delicious side dish.”
Follow these tips to take your roast potatoes to the next level. Your guests will love the incredible texture and flavor you add to the table!

Tip 2 – Save Vegetable Cooking Water for Gravy
Don’t throw away the potato water. Use it (and other vegetable cooking water) to make tasty gravy. Mix it with meat roasting juices, stock cubes, salt, and pepper. Then, thicken it with a cornstarch mix. You’ll get a gravy that’s perfect for your roast.
Variations of the Gravy
Want to spice up your gravy? Try these ideas:
Herb and Mustard Gravy: Add herbs and 1 tablespoon Dijon mustard.
Wine Gravy: Use 1/3 cup red, port, or white wine instead of stock.
Beer Gravy: Swap 1 1/2 cups of stock with a 12-ounce bottle of dark beer.
These tweaks let you tailor the gravy to your roast and taste.
Nutrition Information for the Gravy
Watch your calories? Here’s what the gravy’s nutrition looks like:
| Serving size | Calories | Carbohydrates | Protein | Fat | Saturated Fat | Cholesterol | Sodium | Fiber | Sugar |
|---|---|---|---|---|---|---|---|---|---|
| 0.25 cup | 55 kcal | 4 g | 2 g | 4 g | 1 g | 4 mg | 94 mg | 0.1 g | 1 g |
These numbers can help you manage your diet.
Other Options for Thickening Gravy
Looking for other ways to thicken your gravy? Check these out:
- Cornstarch: Mix 1 tablespoon with 1 cup of liquid for a thick gravy. Or use 2 tablespoons for a thicker version. It’s gluten-free and works great.
- Flour: Combine 2 tablespoons of flour with 1 cup of liquid. It’s a classic choice for gravies and sauces.
- Arrowroot Powder: For a gluten-free option, use 2 to 3 tablespoons of arrowroot powder mixed with water to thicken.
- Pureed Vegetables: Try using potato, parsnip, beet, or carrot puree to thicken your gravy. It changes the stock’s flavor with the vegetable you choose.
These options let you pick the best thickener for your needs or taste.
Making Mashed Potatoes alongside Roasties
When it comes to a tasty roast dinner, mashed potatoes and roasties are great choices. Why pick just one when you can have both? With a few tips, you can cook both dishes at once and serve them together.
Start by picking the right potatoes for mashed potatoes. Yukon Gold or large red potatoes work best. They’re full of starch, which makes them perfect for light and fluffy mashed potatoes.
Here’s a trick to save time: boil the potatoes for both dishes in the same pot. After 8-9 minutes, take out the potatoes for the roasties with a slotted spoon. Let them get crispy and golden in the oven. Keep boiling the rest until they’re tender.
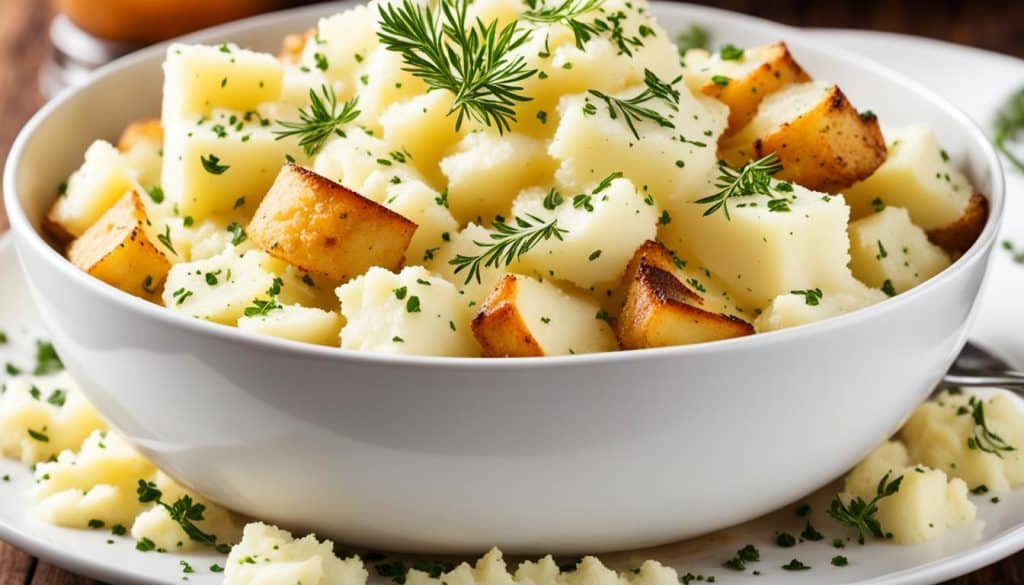
Once the potatoes are tender, drain them and mash them apart. You can use a potato masher for a bit of chunkiness or a ricer for smooth mashed potatoes. Add butter, garlic, thyme, black pepper, and salt to taste.

Don’t overmix the mashed potatoes. It can make them sticky. Just mix the ingredients gently until they’re well combined for the best texture.
With these tips, you’ll have creamy mashed potatoes and crispy roasties ready at the same time. Your roast dinner will impress everyone with its flavors and looks!
Follow me on Facebook, Pinterest, Instagram, and YouTube for more cooking tips and recipes. I’ve got lots of delicious ideas and updates coming your way!
Make-Ahead Roast Potatoes for Larger Gatherings
When you’re cooking for a big group, make-ahead dishes are a lifesaver. Roast potatoes are perfect for this. You can prepare them early, saving time and stress on the big day.
Make the roast potatoes as the recipe says, but don’t cook them all the way. Stop after 20 minutes when they’re lightly golden. Then, take them out of the fat and chill them. They’ll keep in the fridge for up to a day.
When it’s time to eat, heat the fat in the oven. Add the chilled potatoes and roast for 20-30 more minutes. They’ll turn golden brown and crispy. This way, all potatoes cook evenly and you can prep them ahead.
Make-Ahead Tip: For even more convenience, freeze the potatoes after cooking them halfway. Put them in a container and freeze for up to a month. No need to thaw before roasting. Just roast them a bit longer.

Make-ahead roast potatoes are great for any big event. They’re easy to make, can be seasoned in many ways, and everyone loves them.
So, plan to make roast potatoes ahead for your next big meal. Your future self will be grateful for the extra time and tasty outcome!
High-Sided Roasting Pans for Crispy Roast Potatoes
Choosing the right roasting pan is key to getting crispy roast potatoes. Some wonder if high-sided pans can affect crispiness. But, with some adjustments, you can still get great results.
High-sided pans are more popular now, thanks to their effectiveness in making crispy potatoes. They’re great for those who want to improve their potato roasting.
These pans might cost a bit more, but they offer many benefits. They might take longer to cook potatoes, but you can speed up the process by using higher heat or the top oven for even cooking.
Many people have switched to high-sided pans for roasting potatoes. This change is due to their high customer satisfaction ratings. These pans are praised for their performance, as seen in many recipes and guides.
High-sided pans also help save oil or butter during cooking. This means you get crispy potatoes and use less fat. It’s a great way to cook healthier.
Testing over thirty roasting pans showed that the Nordic Ware Naturals line is a top choice. Williams Sonoma, Lodge, and Silpat also offer great options for high-sided pans.
The Cooks Standard stainless steel pan is a versatile and durable choice. It excels in browning foods without sticking. Even the least expensive pan tested was among the best, showing you don’t have to spend a lot to get quality.
For those willing to spend more, Cuisinart’s MultiClad Pro roasting pan is a better option than their cheaper Chef’s Classic. Rachael Ray’s roasting pan with a reversible rack is versatile and affordable. Le Creuset’s stainless steel roasting pan is great for even cooking and non-stick performance.
In conclusion, high-sided roasting pans are essential for crispy roast potatoes. They’re popular, highly rated, and come from trusted brands. These pans are a must-have for any home cook.
Sumptuous Pot Roast Recipe
If you’re looking for a pot roast recipe that will wow your family and friends, you’re in the right place. This recipe uses tender and flavorful beef chuck roast. It’s sure to make everyone happy.
To start, you’ll need a 3½-4 lbs. beef chuck roast. This cut of meat is great and not too expensive. Preheat your oven to 350°F.
Put the roast in a Dutch oven or a big baking pan. Add about 20 baby onions, ½ lb. of baby carrots, 2 lbs. of baby potatoes, 1 large onion, and 4-5 garlic cloves around it.
Then, pour 1 cup of chicken stock or mix 1 tsp of chicken soup mix with 1 cup of boiling water. Pour this into the pan. Season the roast and veggies with salt, pepper, paprika, and garlic powder.
Add ¼ cup of red wine for extra flavor. Cover the pan with a lid or foil. Let it cook in the oven for 6-8 hours. The meat should be tender and fall-apart easy.
As it cooks, the kitchen will fill with a delicious smell. Everyone will be excited to try it.


