Have you ever walked into a bakery and been drawn in by the smell of fresh bread? The golden crust and delicate crumb make the taste unforgettable. It’s an experience that leaves you wanting more.
What if you could make that magic happen in your own kitchen? You could become the master artisan, making homemade masterpieces that impress even the pickiest eaters.
Let me introduce you to artisan baking. It’s more than just following a recipe. It’s a journey of passion and precision. And I’m here to guide you through it.
Key Takeaways:
- Artisan baking is a process that involves creating handcrafted breads with unique recipes and techniques.
- Homemade artisan breads are known for their light and fluffy interior and a beautiful hard crust on the outside.
- Bread, when prepared correctly, is a nutritional powerhouse, rich in essential minerals and vitamins.
- A gram scale is essential for precision in bread baking.
- With the right techniques, your homemade artisan bread can stay fresh for days or even months.
The Key Step in Artisan Bread-making: Shaping Bread Dough
Shaping bread dough is a key step in making artisan loaves. It comes after dividing and pre-shaping the dough. This step is crucial for the bread’s look, feel, and taste.
Understanding the importance of shaping dough is vital. Different bread shapes affect how we eat them and their uses. For instance, a boule is great for sandwiches, while a batard is best for toasting.
To get a beautiful loaf, several techniques are used. First, make sure the dough is strong enough. Then, pre-shaping helps create a smooth surface and even crumb. Sometimes, relaxing the dough a bit makes it easier to shape.
There are many ways to shape bread, like making an oval bâtard or a round boule. Shaping baguettes needs care to keep them open and straight. Small buns or rolls can be shaped by hand or with tools, especially if the dough is soft.
Shaping Techniques for Boules
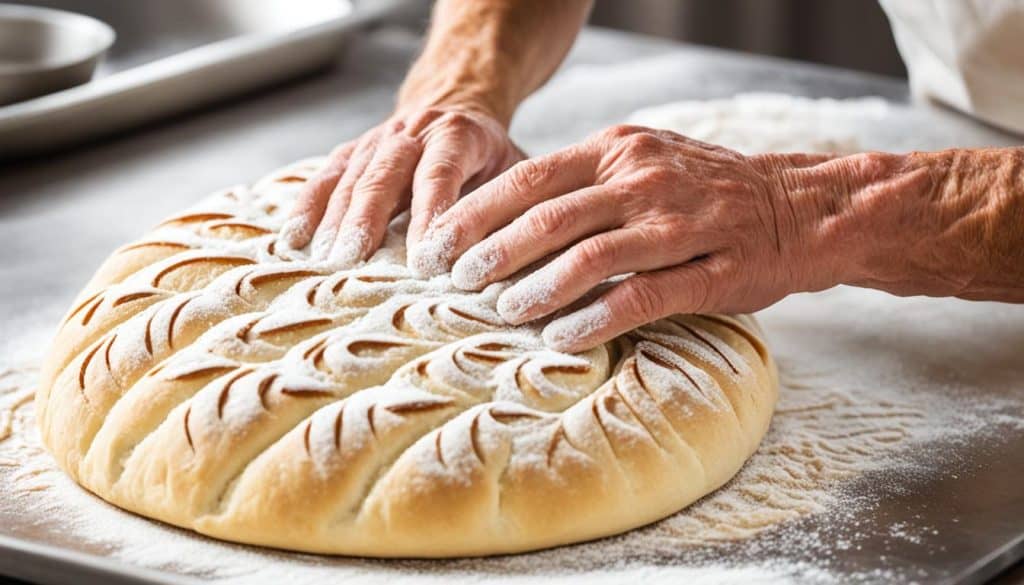
A boule is a round loaf with a tight skin. To shape one, fold the dough edges to the middle and pull it towards you. This makes the loaf smooth and traps bubbles for a light crumb. Pinch the top to shape it nicely.
For beginners, try the “Beginner’s Sourdough Bread” recipe. It’s easy to handle and shape because it’s not too wet. Let the dough rest for 30 minutes to develop a skin and relax. You can also let it rise at room temperature for 3-4 hours before baking.
Shaping is a critical step in making bread. It helps the dough rise well, looks good, and makes the bread light and airy. You can use a bench knife for sticky dough, but it’s not a must. Be creative and enjoy shaping your artisan loaves!

| Basket Diameter (inches) | Dough Weight Range (grams) |
|---|---|
| 8 | 500 – 650 |
| 10 | 700 – 1000 |
| 12 | 1100 – 1300 |
Table: Recommended Dough Weight Range for a Closed Pot (e.g., Dutch Oven)
| Closed Pot Type | Dough Weight Range (grams) |
|---|---|
| Dutch Oven | 700 – 900 |
Understanding the Bread-making Process
Before we dive into shaping bread dough, let’s understand the bread-making process. It has several key steps that make a perfect loaf of artisan bread. Each step is important for the final result.
The first step is mixing the ingredients. We combine flour, water, salt, and yeast to make a dough. The flour type affects the bread’s structure and texture. Refined flours make a light, delicate crumb, while whole grains add nutrition with more bran and germ.
Next, the dough goes through bulk fermentation. This is when the dough rests and rises, letting yeast ferment and develop flavors. The dough becomes elastic and gains its unique taste during this stage. The time for bulk fermentation depends on the recipe and flavor desired.
After that, the dough is divided and preshaped into smaller pieces. This makes sure each loaf is the same size and shape before final shaping. Then, the dough rests to relax and spread out the gases for easier shaping.
Shaping the dough is where the artisan’s skill is most visible. It involves carefully molding the dough into shapes like baguettes or boules. Proper shaping helps distribute air pockets evenly and keeps the dough’s shape during baking.
Next, the dough goes into the proofing phase, also called final fermentation. This is when the dough rises again, developing its texture. Proofing times vary based on the recipe, temperature, and flavor desired.
Advanced bakers might use extra techniques to improve the bread. Folding the dough or extending the autolyse process can enhance gluten and flavor.
Artisan bread-making is hard work that requires skill, time, and focus. The end result is bread that tastes, looks, and smells better than store-bought. People love artisan bread for its unique designs, freshness, and clean ingredients.

Now, let’s learn how to shape bread dough perfectly for amazing homemade loaves.
Mastering the Art of Shaping Bread Dough
Shaping bread dough is key in making bread at home. It takes skill and technique. By learning to shape dough, you can make beautiful and tasty homemade bread in many shapes. You can make an oval bâtard, a round boule, a pan loaf, a baguette, buns, rolls, or even pizza dough.
Lionel Vatinet, a semi-finalist for the 2016 James Beard Awards for Outstanding Baker, is a master of bread shaping. He teaches the importance of technique over exotic ingredients. He works with local artisans, grain growers, and millers to make unique artisan breads.
For shaping bread, the right tools are important. The MasterClass Crusty Bake Non-Stick Baguette Tray and the MasterClass Non-Stick Box Sided Loaf Pan are great tools. They help you shape bread perfectly.
Lionel Vatinet’s recipe for Fig, Polenta, and Walnut Sourdough Bread includes everything you need. You’ll need unbleached, unbromated bread flour, whole wheat flour, fine sea salt, water, liquid levain, toasted walnut pieces, chopped figs, and cooked Anson Mills Course Rustic Polenta Integrale. Following this recipe helps you master shaping bread dough.
Artisan baking encourages experimentation and innovation. You can try different flavors and ingredients to make unique bread loaves. Using high-quality ingredients is key to making great artisan breads.
Flour types like all-purpose, bread, whole wheat, and oat flour affect the bread’s texture. Yeast and sourdough starter are vital for fermentation. They make the dough rise and add flavor.

Steam is important for a crispy crust and airy crumb. Cooling the bread on a wire rack after baking helps avoid a gummy texture. Traditional techniques like hand kneading and slow proofing improve the bread’s flavor and texture.
By using these techniques and adding your creativity, you can make beautiful bread loaves. They taste great and look good too. Sharing homemade bread brings people together, making every bite special. Start shaping your bread dough today and explore the world of artisan baking.
Secrets to a Perfectly Shaped and Taut Outer Skin
Getting a tight outer skin on bread dough is key. It keeps the dough’s shape while baking and makes it look professional. Here, I’ll share tips for a tight, taut outer skin on your bread.
Dough Preparation: The Foundation for a Tight Outer Skin
First, prepare the dough right. Use 50% white rice flour and 50% all-purpose flour for dusting. White rice flour makes the crust white and crisp. But, dust the dough carefully to avoid sticky residue.
Preserving Dough Strength during Shaping
Keep the dough strong while shaping for a tight skin. Score it deeply to go through the skin but keep it intact. Different designs need different scores to expand right during baking.
Consider Your Scoring Design
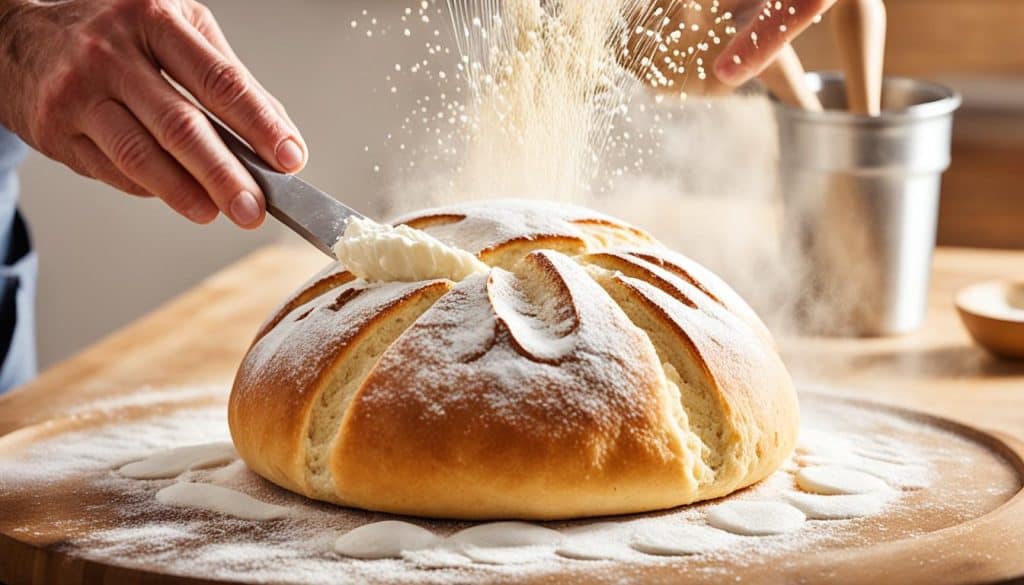
Scoring shapes the skin too. Use the right tools and techniques for your design. For boules, small cuts look like leaves or wheat stalks. A straight blade works best.
Bring Your Design to Life
Think about your design’s details. A deeper center cut in a cross design looks dramatic. Side slashes add more detail. Use a curved blade for a unique touch.
Perfecting the Batard Shape
For batards, use single or double slashes. A curved blade creates a cool effect. This shape works best with certain dough types that don’t spring much.
Follow these tips for loaves with a beautiful, tight skin. Shaping bread takes practice, so don’t give up. With time, you’ll impress everyone with your homemade bread.
Enhancing the Flavor and Presentation of Bread Dough
After shaping your bread dough and smoothing its surface, you can boost the flavor and look by adding toppings and extras. This lets you be creative and try out different tastes and textures.
Seeds are a great choice for toppings. They make your bread look good and taste great. You can pick from sesame, poppy, or sunflower seeds. Sprinkle them on top before baking for a nice crunch and a nutty flavor.
Adding grains can also make your bread taste and look better. Use rolled oats, flaxseeds, or cracked wheat for a rustic feel and a wholesome taste. You can mix these into the dough or coat the outside for a beautiful look and a great smell.
For a sweet touch, try adding dried fruits. Chopped apricots, cranberries, or raisins add natural sweetness and surprises in every bite. They also add a nice texture that goes well with the soft bread, making it even more special.
You can also try other ingredients to make your bread dough taste and look better. Think about using grated cheese, minced garlic, or chopped herbs like rosemary or thyme. You can mix these into the dough or use them for a tasty crust on top.
These toppings and extras not only make your bread look good but also add flavor and texture. They let you make a unique bread that you and your guests will love.
When picking toppings, think about the flavor you want your bread to have. Try different mixes and amounts to find what works best. Make sure to check the baking temperature and time so the toppings don’t burn or take over the bread.
Adding these special touches to your bread can turn a simple loaf into a work of art. It will make both the eyes and taste buds of anyone who tries it very happy.
Caring for Your Homemade Artisan Bread
After baking your homemade artisan bread, it’s key to know how to store and enjoy it. This keeps it fresh and tasty. Here are some tips for storing and enjoying your bread.
Keep your artisan bread in a cool, dry spot. Putting it in the fridge can make it stale faster. For keeping it fresh longer, freezing is best. Wrap crusty loaves in tin foil and softer breads like rolls in a plastic bag or container. Don’t forget to label your bread in the freezer.
Let your bread cool down after baking. This helps with starch retrogradation and makes the texture better. It usually takes 30 minutes for a small loaf and a few hours for a big one to cool to room temperature.
Now, it’s time to enjoy your homemade bread! You can have it plain or with spreads or cheeses. Artisan bread is great as a side, for sandwiches, or in recipes. Enjoy the taste of your hard work in every bite.


